My Chaos were somewhat wandering in no man's land until the Daemonkin Codex came out. It was the perfect mix of Khorne goodness with all the units I have loved over the years. But they needed a leader, someone with the rugged good looks to lead such a bloodthirsty horde.
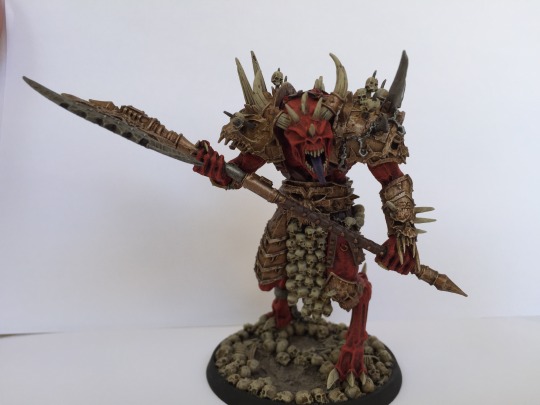
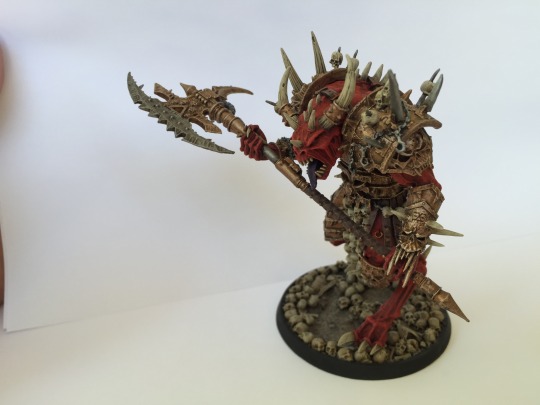
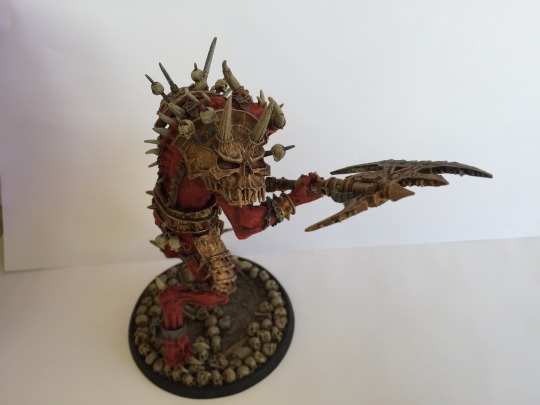
Sadly, no 40k Khorne Lord on a Juggernaut exits. But it does in fantasy!!! Behold the no longer available model!
Obviously I can't paint that well. But I just wanted to give you a taste. I snagged him on a trading website almost complete, just lacking the right arm and shield and the juggernaut was missing some trophies.
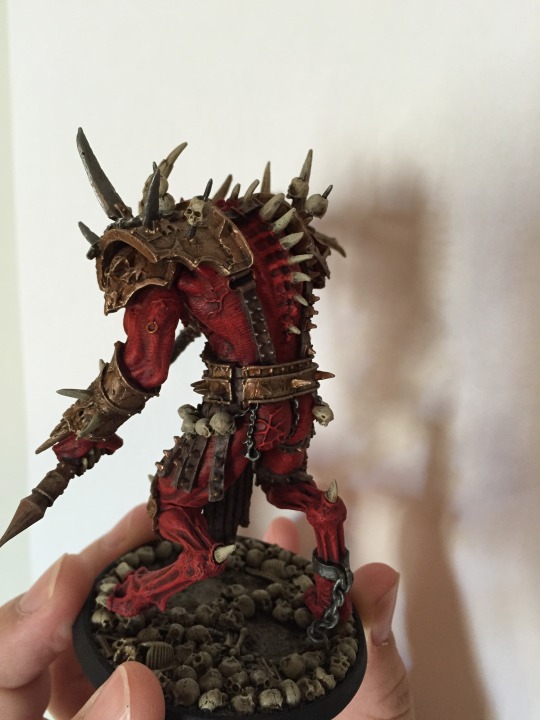
For the right arm I went with a Chaos Raptor forearm and the axe from the Chaos Aspiring Champion. Combining the two makes one mean model. Whats better than one axe? Two!
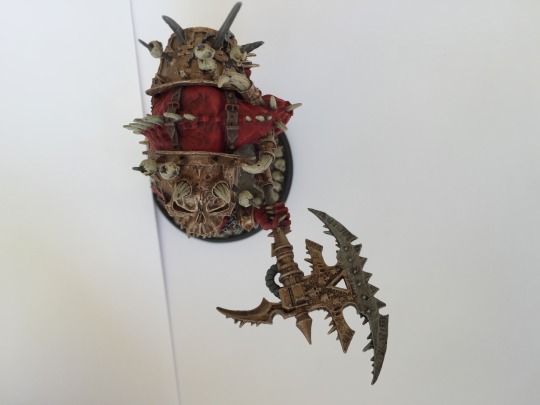
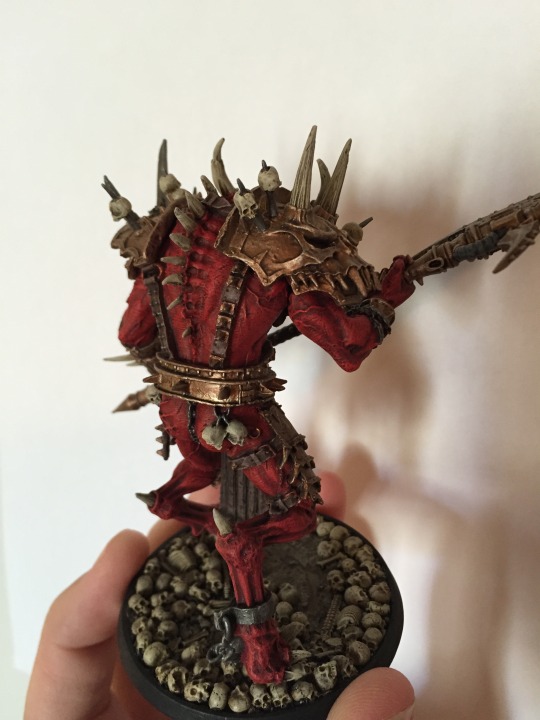
Obviously this guy would need some love to get him up to 40k Snuff. BUT I LOVE this model, so I don't want to take away too much from his unadulterated coolness. I decided to add on a Chaos Lord backpack with an impressive trophy rack. The futuristic backpack coupled with the Ork and Space Marine head does add to the 40kness of the model.
There isn't much to add to the juggernaut as he is essentially the same in both fantasy and 40k. But I did decide to add some xenos and space marine helmets and skulls to make it extra evident that we are in the future.
With everything in sub-assembly it's ready to start painting!
But there is a reason I suck at blogging, I don't take pictures of the process!
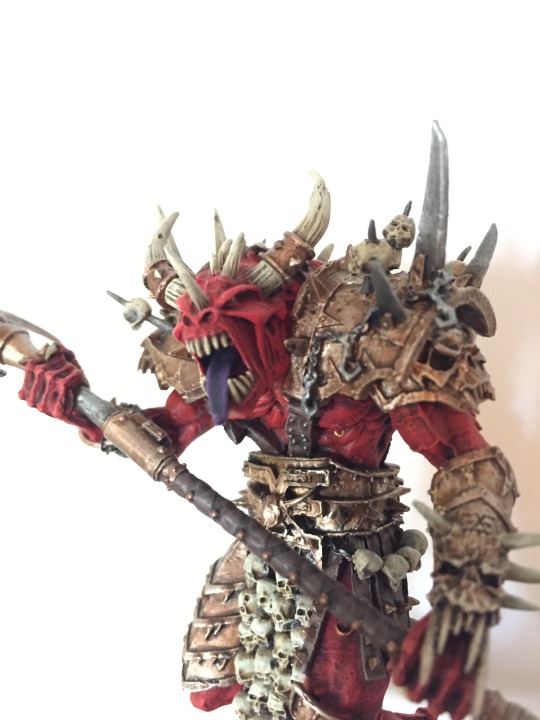
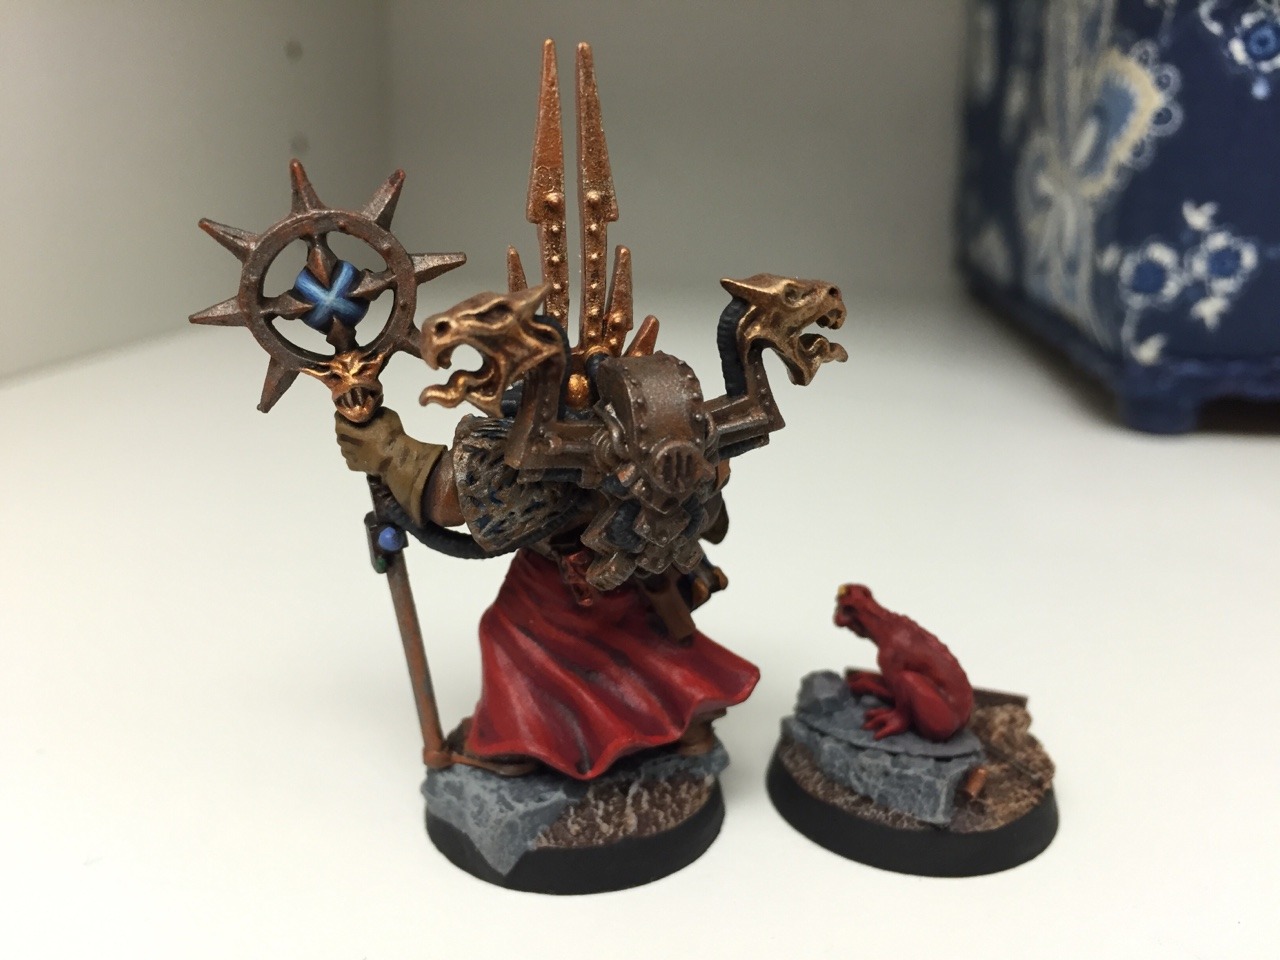
I bought this guy on a whim a while ago. He just looks so angry! I finally got around to painting him and I am happy with the results. Not a lot you can do with a ton of brass armor. But I think he wears it well.
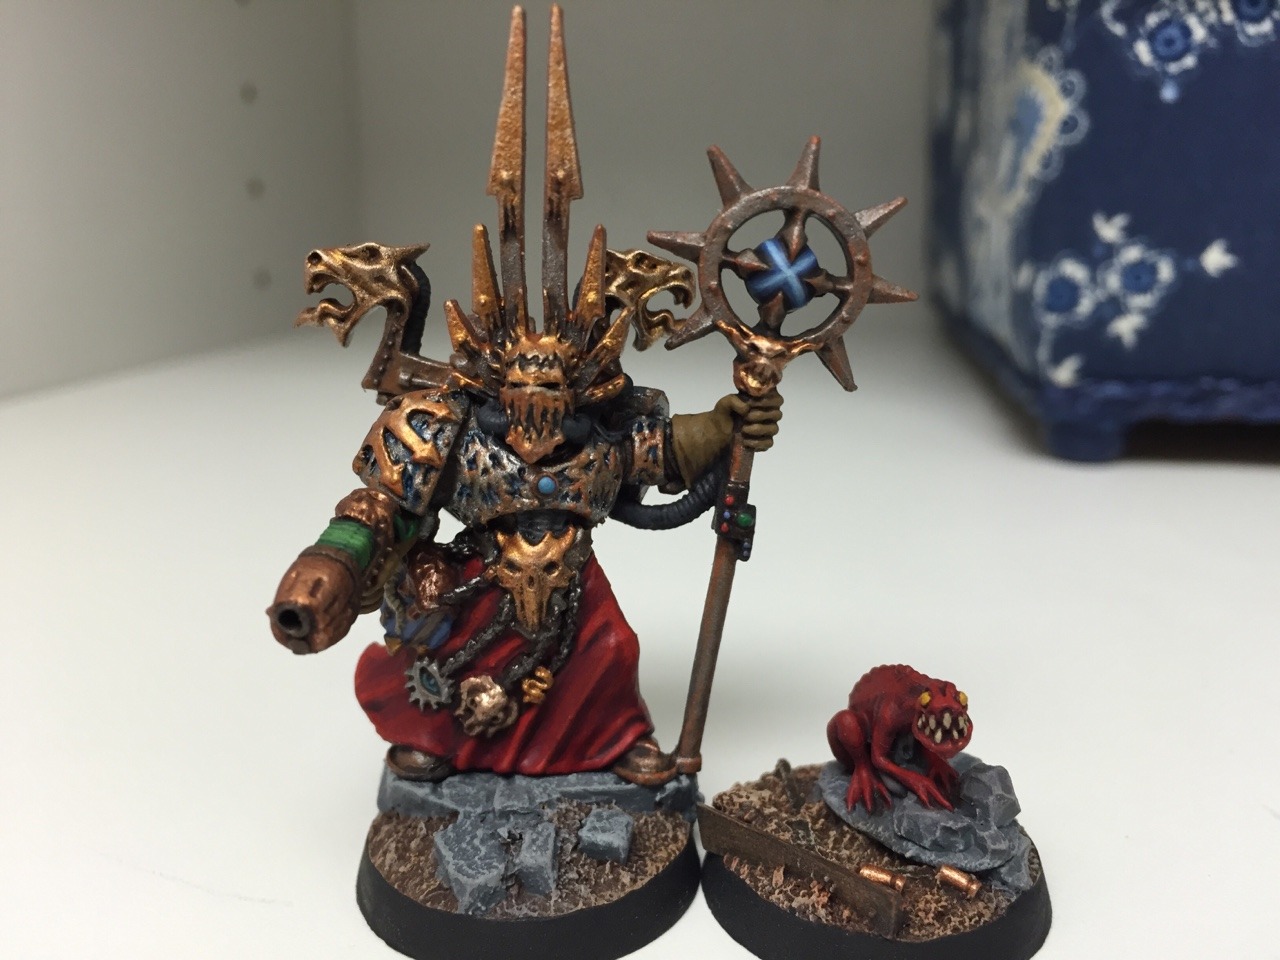
My Chaos Sorcerer and familiar. I really love his scary faceplate. I wanted that feeling of barely contained power beneath the filagree of his armor. Not sure if it came out okay, but I went for it.
I still like that grungy feel of my chaos marines thus far. Not a nurgle feel to them, but more of a derelict attitude to their armor and weapons.
I plan on swapping him out as the main baddy in my copy of Assasinorium Execution Force
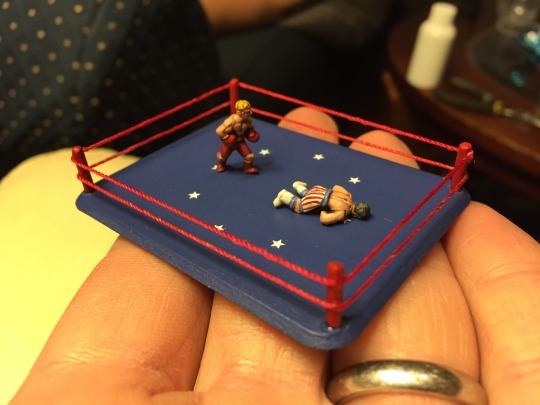
I just had to! This is my 3rd Shifting Sands Objective. A tournament based on an alternate history needs an objective based on the alternate ending to a movie!
Both Dolf and Stallone are both made from the British 25 pounder loaders from the Africa box. I had to cut their helmets and sculpt hair. Boxing gloves were done with green stuff. I’m happy with it!
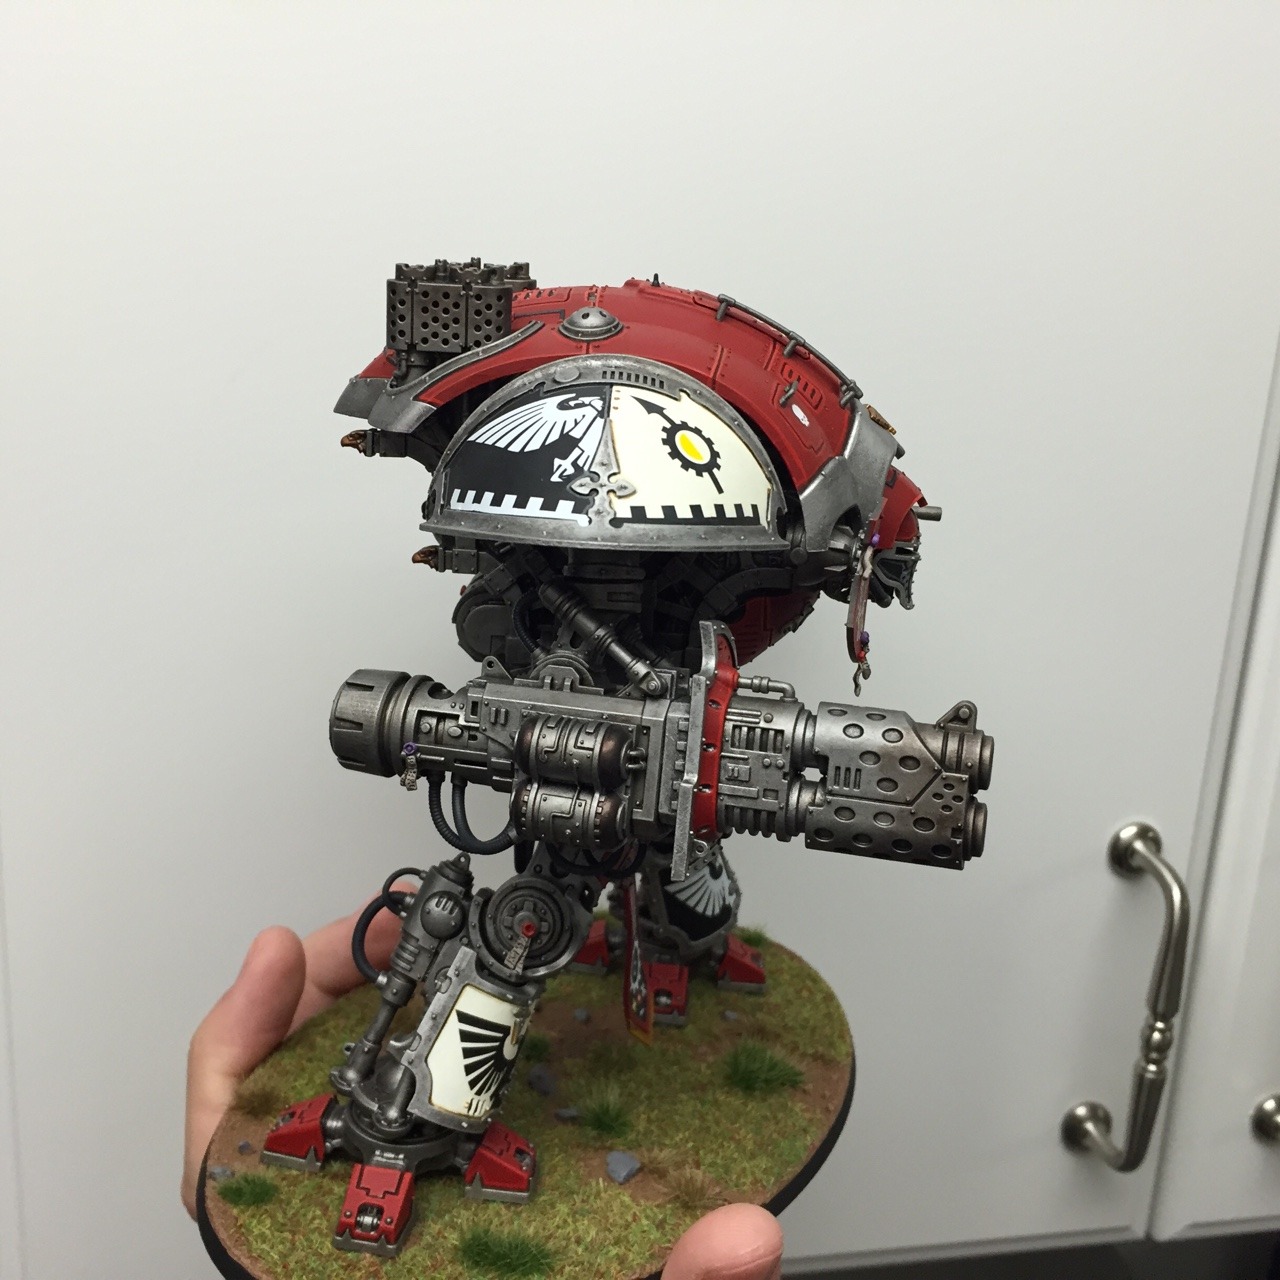
My Imperial Knight! Very happy with how it all came out. A lot of hard work and painting the most dreaded color of all, white! Overall happy on the color scheme, thought it took a lot of brainstorming with my pal Sam.
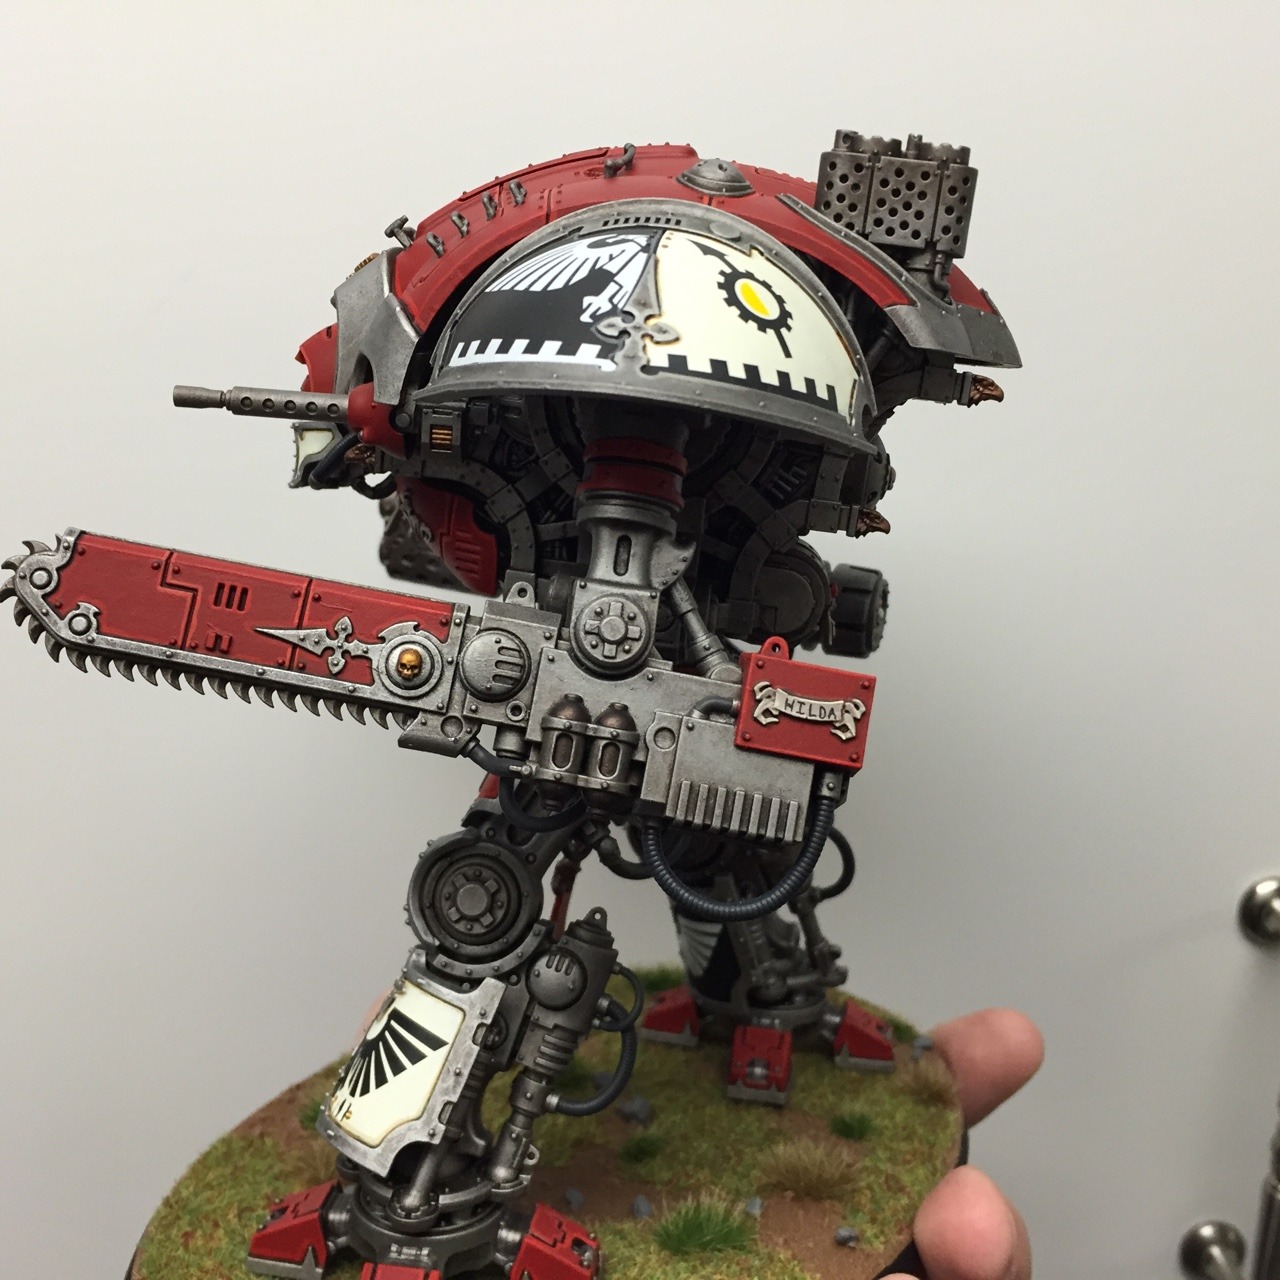
As you can tell, his chainsword is named “Hilda.” The reason is because.
Kind of neat that they chose one of my battle report submissions. Here is a pic of a game from a while back. Its an all assassin force (2 Vindicate, 2 Eversor, 2 Callidus, and 1 Culexus) versus a mishmash of my dark angels. I might post up some pictures of all 7 models in the future. I’m pretty happy with them.
Needless to say the librarian did not make it out alive.
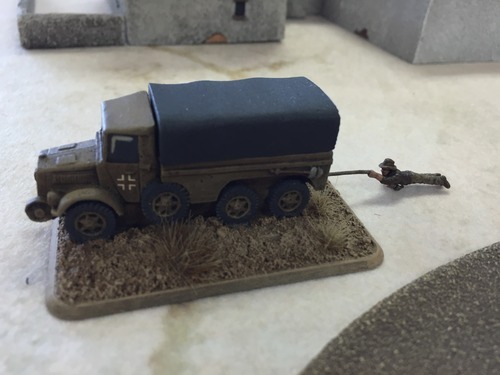
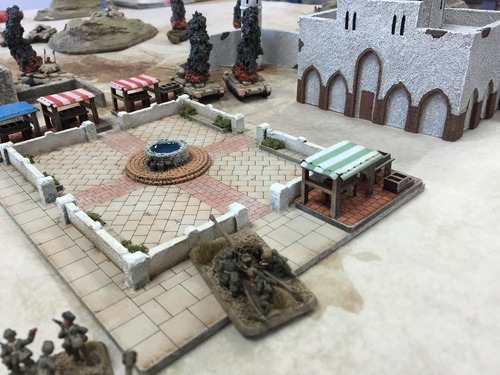
Well, I know the above picture doesn’t have a Brit involved in it. But I sure do love my Indiana Jones objective!
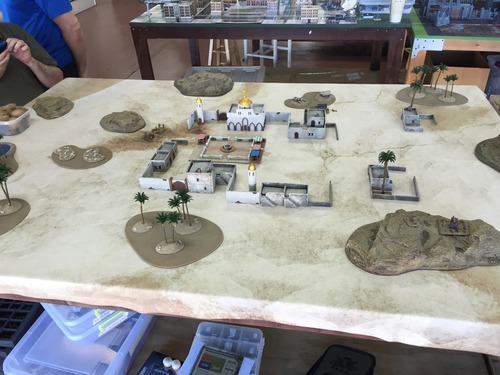
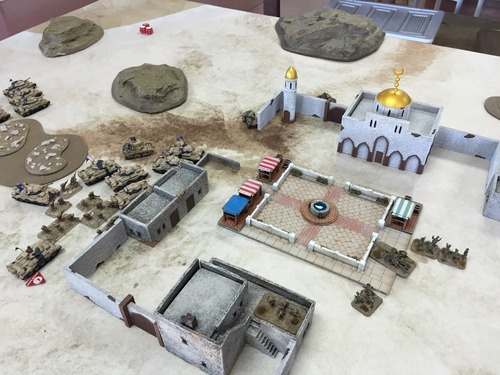
So this was a friendly game against Mark. Our resident Brit and Brit player. I got a new desert mat and I wanted to see all of my terrain on the board to see how much desert stuff I really have. I think I will end up lightening up the hills to match the board.
The mission called for me to set up in one corner with an objective in my corner (Indiana Jones one) and try to move and cover my other objective just in the upper right hand quadrant in the board. Mark would be setting up in thew quadrant just next to me.
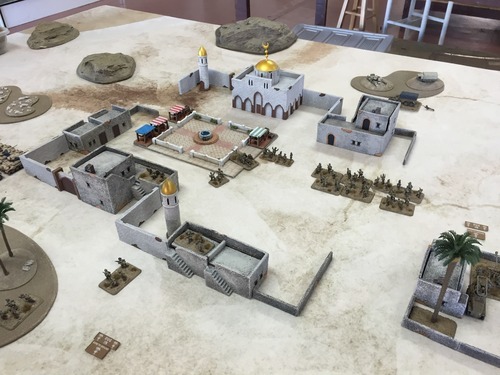
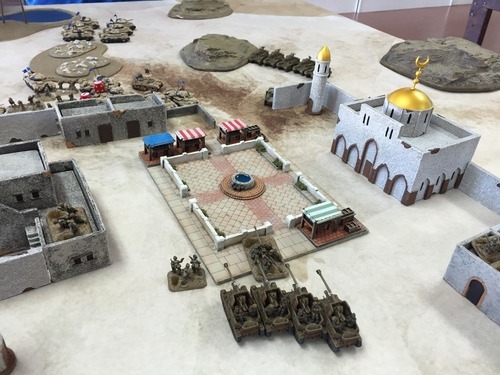
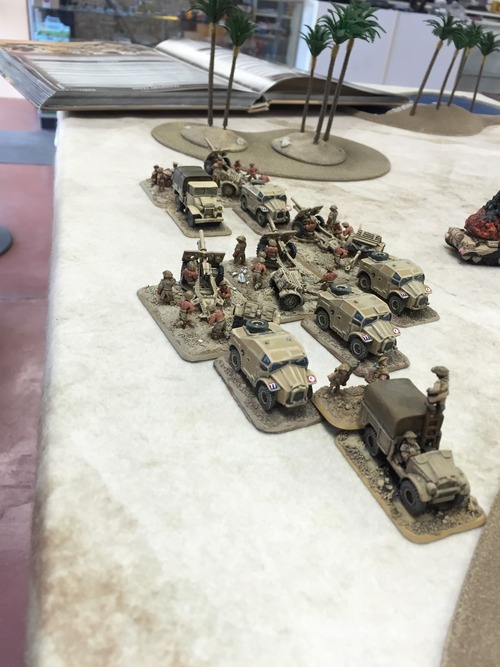
My set up:
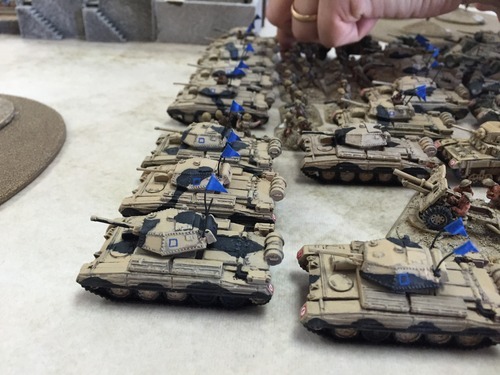
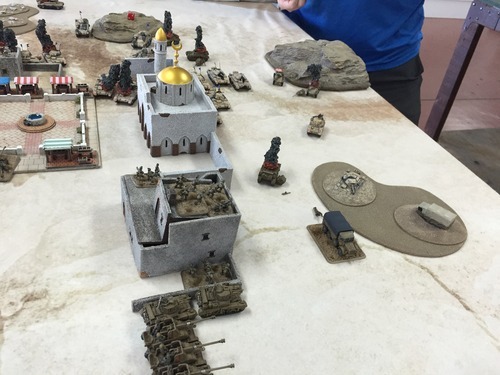
Roughly, the list is composed of 2 infantry platoons with attached AT guns, one with 2 Pak 36Rs, and one with 2 Pak 38s. I also have a battery of 8.8s with extra crew, 5 looted stuarts, and 4 Marders.
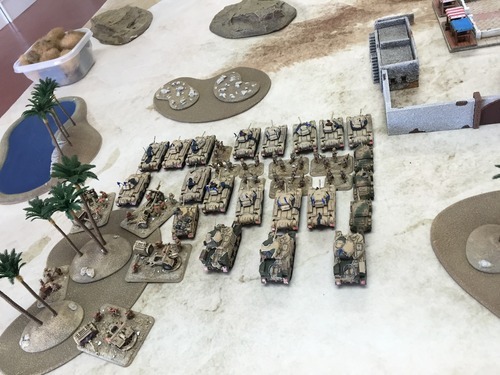
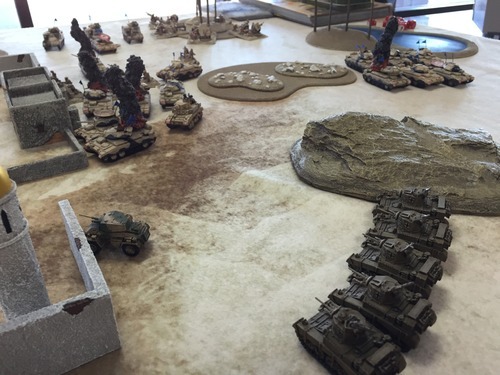
Mark’s deployment. Quite a tank park! I don’t remember exactly what he had. But it was composed of crusaders, grants, numbers, and some artillery. I really do like his paint job.
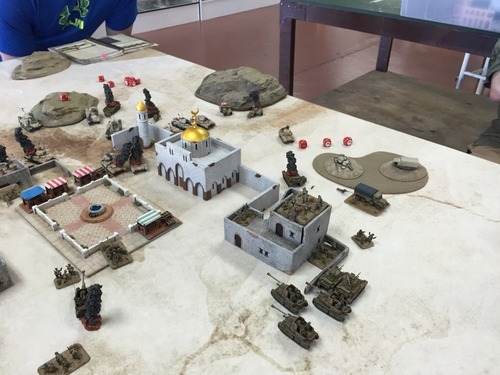
Mark has the first turn and begins his very circuitous rout to the objective. He could try and go through the village, but it was simply bristling with AT guns. He does try and double move one squadron the long way. Unfortunately the crusaders must check to see if they bog whenever they move at the double. Knowing Mark’s luck against me his platoon leader bogs down. So he attached his 2iC to lead on, but he bogs too! So now we have one strung out platoons with their butts in the wind! He tries to see if the village can be broken, but after some ineffective shots at the AT guns it looks like he will still have to go the long way.
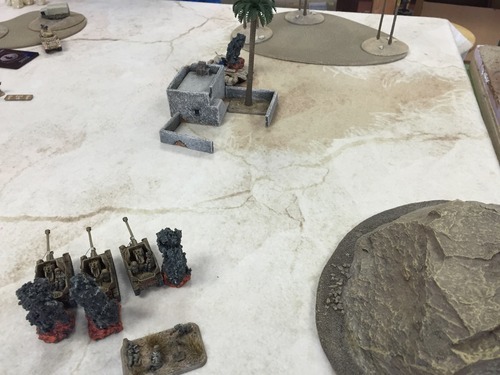
Now my DAK have a reputation for being extremely lucky as well as a beast of a force. Naturally, I got my stuarts in reserve on turn one, and the trap is sprung with my marders ambushing!
The first sets of shots go off! One platoon of crusaders is out of action. But those other 6 in the right hand corner of the photo end up wrecking some shop on the stuarts.
In Mark’s turn he continues to test the village, but to little effect. However, he has reduced the now backpedaling stuarts to 2.
I move the stuarts back to join up with the marders. I also move the larger infantry platoon into the building next to the objective, with the hopes of just feeding stands to contest while I grind Mark down.
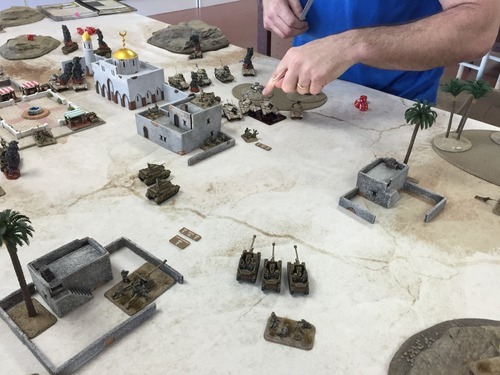
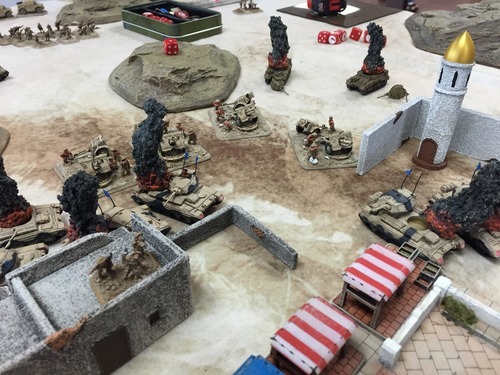
Mark continues to advance! The grants are now bringing up the rear and trading shots with the marders at the entrance to the village.
We square off right at the objective. But the marders meet their demise as well as the remaining stuarts.
By this point I have no more mobile assets to toss around the board. However, Mark can’t throw units onto the objective with the one stand dug in on top of it (with more to be fed in if he dies!) So all he can do is try and try and gun down all of the infantry in the house. The astute observer will notice that Mark is getting close to losing more than half of his company, forcing a company morale check (Hard to take if your CO is dead!).
So Mark mounts up his guns to try and finish off the platoon in his way.
And they set up shop at the entrance to the village.
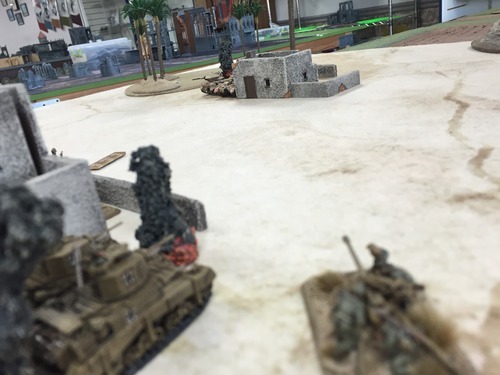
Meanwhile, I have my DAK push one of their pak38’s into range of the remaining tank from a badly wounded crusader platoon. Their platoon leader had died to stuart fire a few turns back, so they were simply stranded hiding behind a small building.
With a few shots at the tank, I finally penetrated and the platoon was lost. This brought Mark to below half and he automatically failed his company morale without a CO or 2iC present.
A very back and forth game. He is always a very tough opponent that fights to the last. I always enjoy playing my DAK too! I will have to spruce of the terrain to get it somewhat uniform. But I am excited to get some future desert games in.
This Sunday evening I threw down against my nemesis since the 9th grade (I’m now in the 19th!)
Here is a Dark Angels Kill Team:
I went with the low level librarian HQ, 5 tactical (one with a plasma gun), 2 scouts with sniper rifles, and two veterans, one with a heavy bolster and stabilizers (Fire full BS on move with only ½ range).
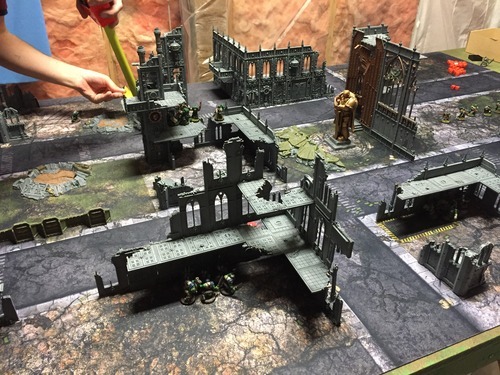
We rolled up the game last stand. I would be in the center of the board with only ½ of my kill team starting in play. The other ½ would arrive from reserves. If Sam killed more than ½ of my kill team before the game ended, he would win.
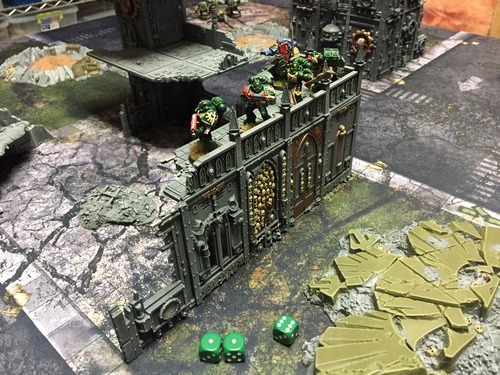
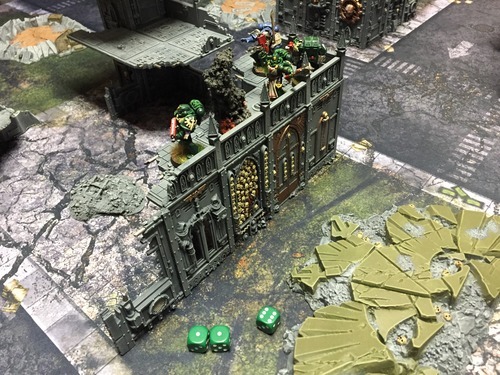
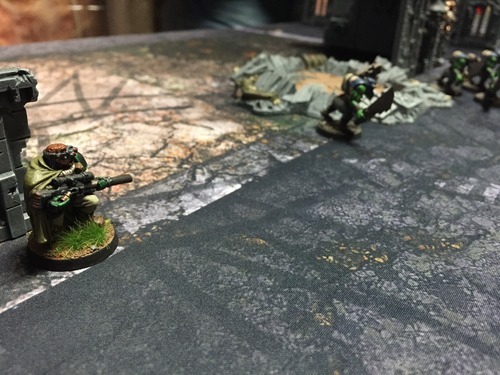
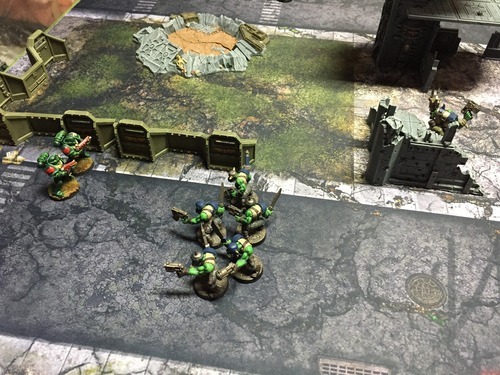
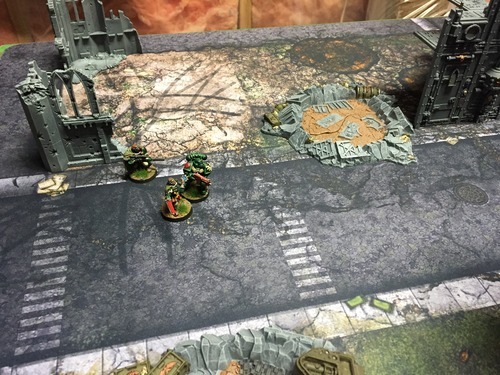
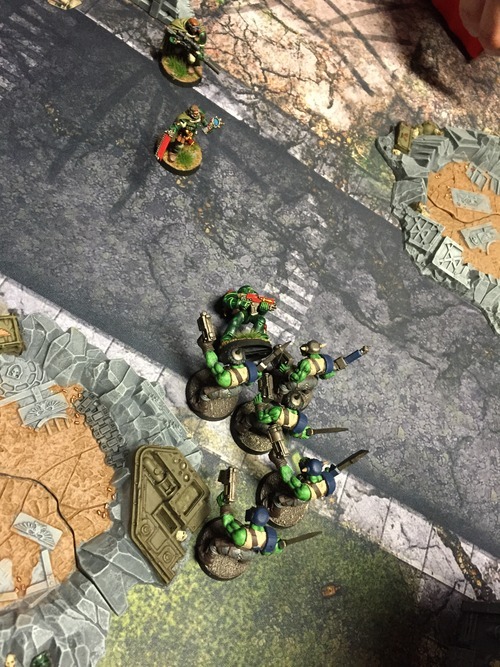
Here we can see the board. I went with my HQ, both vets, the tactical with the plasma gun, and a basic tactical marine. Sam split up all four of his boys to come at me from all directions. He had his nob leader (Bottom left corner) with the power claw and another nob with a heavy choppa in the top right (beind the shrine).
I set up on a bit of ruins without an elevator or ladder; knowing that he would have to pass an initiative test to assault up there. He would have to either chance the failed charge or go the long way through the destroyed elevator just left to the center and run over the gap to get me.
First turn and first shot! Lets see if you can make sense of the little picture show here:
Yep! first shot with the plasma gets a 1. And then a 1 armor save. But thats okay, it only take a 5-6 to kill in kill-team. So I rolled a 6! The Orks were just given a helping hand!
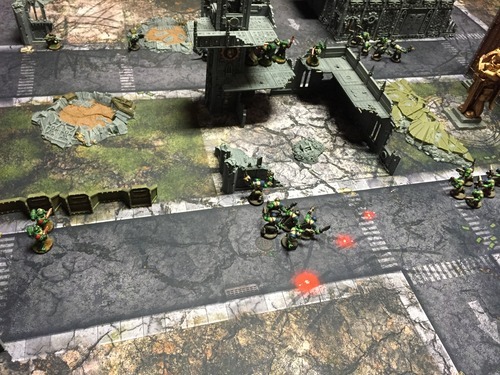
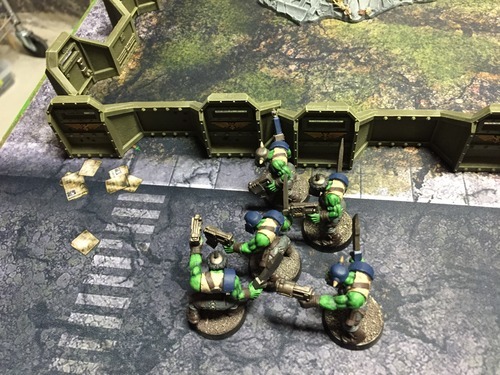
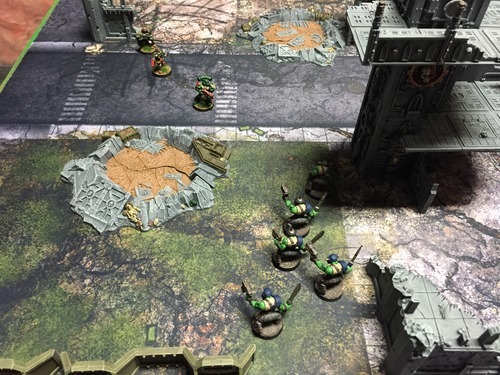
With the rest of my shooting I try and snipe out a straggler as seen below.
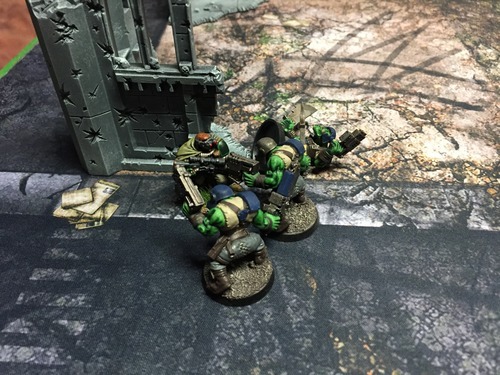
Sam uses the cover to his advantage and closes the distance. At this point I have only killed one boy and had both of my psychic shots (Dominate) against his Warboss either denied or I rolled like crap to wound! Things were not looking good. He was closing in quick!
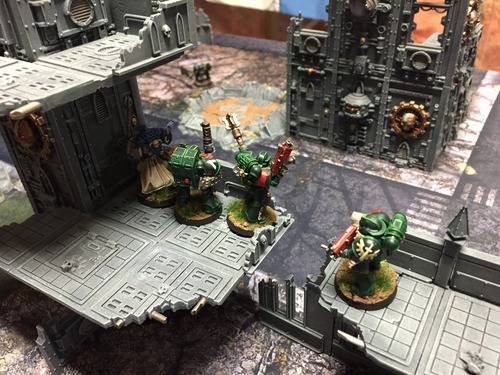
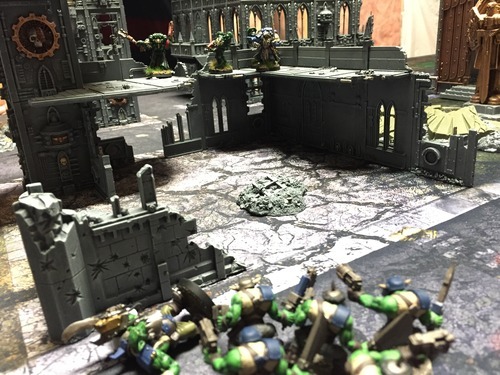
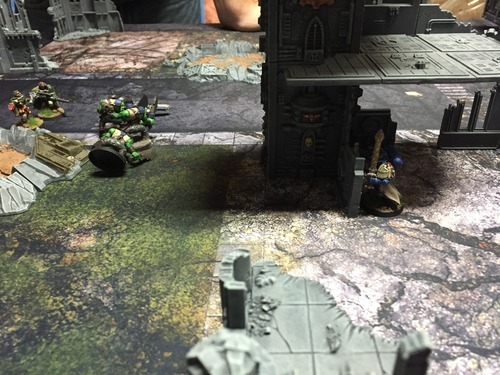
But who should arrive, but reserves! An intrepid scout tries to take out the same straggler from before.
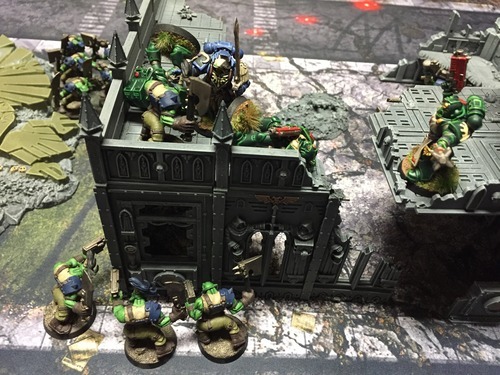
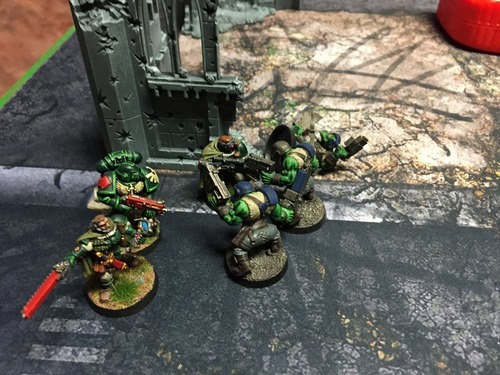
While two marines come to slow down the warboss and his gang.
Sam’s warboss is the target of the heavy bolter, causing two wounds! Unfortunately my psychic attack falls flat again. So what does my librarian do? Whip out his bolt pistol and lay that warboss out on his back!
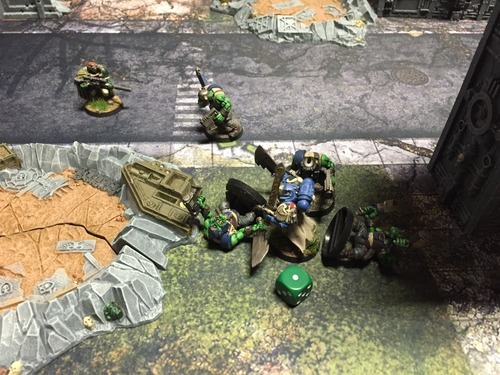
The scout’s shooting wasn’t as successful, and he braces for the orks charge! The space marine reinforcements didn’t fare much better and receive a brutal charge while the warboss marches on!
The Orks make quick work of the two marines.
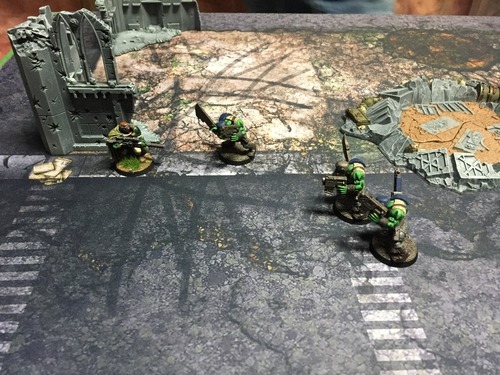
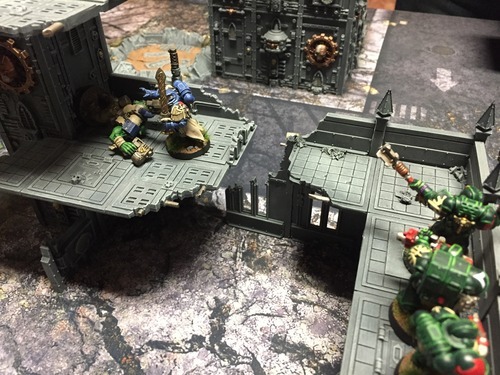
But the young scout cuts an Ork down in his prime! And his carapace armor stops the blows from the other two!
The Orks had also managed to knock the heavy bolter to the ground and hoped to capitalize on the opportunity with a desperate charge against the besieged troops in the center. But the initiative of 1 did not help! And my librarian popped one in defensive fire and chopped the only Ork to make it to the top floor.
The last of the reserves arrive in my turn to receive the heroic scout. Which they do so quickly!
In Sam’s turn he makes a last ditch effort by taking out the newly arrived space marine and one final desperate charge with his warboss (arriving from the elevator!)
But a failed charge gave my librarian the chance to come in and land the final blow after the warboss was knocked down under a hail of fire!
With Sam only two models short of winning the game, he pushes on, trying to kill the scouts after making mincemeat of the marine.
But my librarian made a mad dash to join the fray.
After a brutal assault the librarian had downed a few orks and was ready to keep going. But the turn limit was reached and the Dark Angels stood victorious. A very close and fun game was had!
I hope to add to my DA with either some assault marines or even a chaplain. We shall see..