
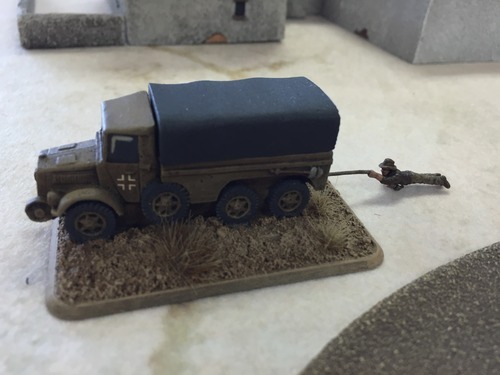
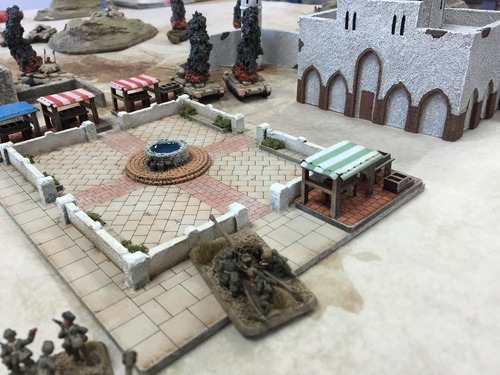
Well, I know the above picture doesn’t have a Brit involved in it. But I sure do love my Indiana Jones objective!
So this was a friendly game against Mark. Our resident Brit and Brit player. I got a new desert mat and I wanted to see all of my terrain on the board to see how much desert stuff I really have. I think I will end up lightening up the hills to match the board.
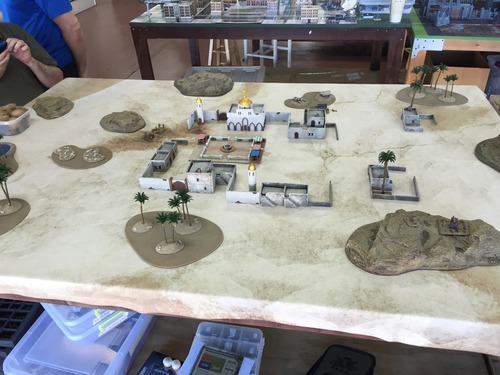
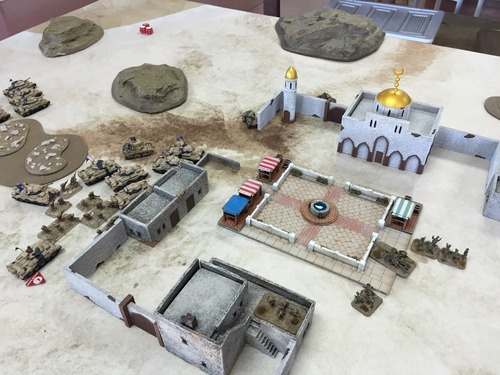
The mission called for me to set up in one corner with an objective in my corner (Indiana Jones one) and try to move and cover my other objective just in the upper right hand quadrant in the board. Mark would be setting up in thew quadrant just next to me.
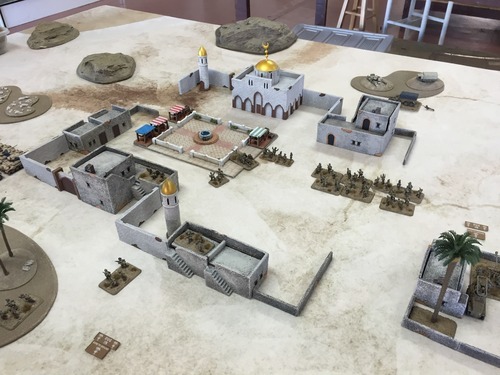
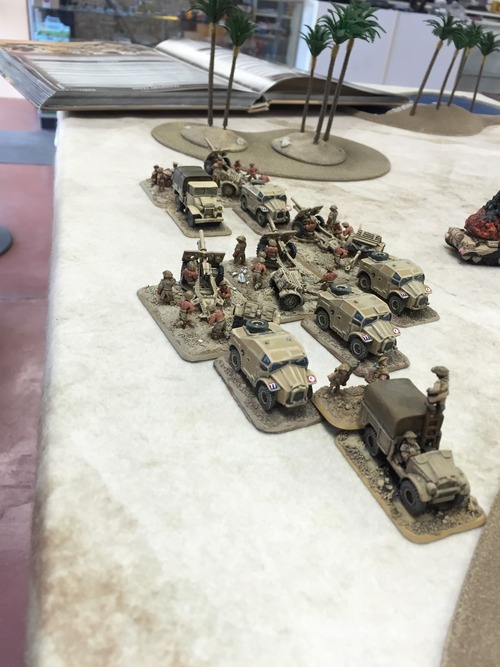
My set up:
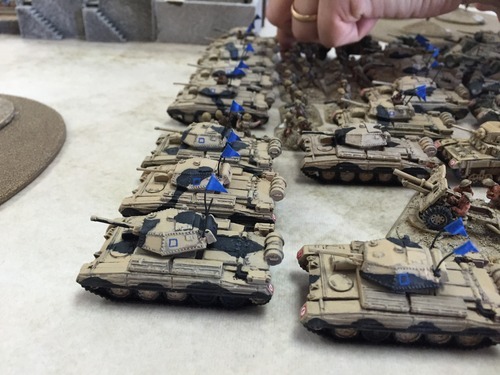
Roughly, the list is composed of 2 infantry platoons with attached AT guns, one with 2 Pak 36Rs, and one with 2 Pak 38s. I also have a battery of 8.8s with extra crew, 5 looted stuarts, and 4 Marders.
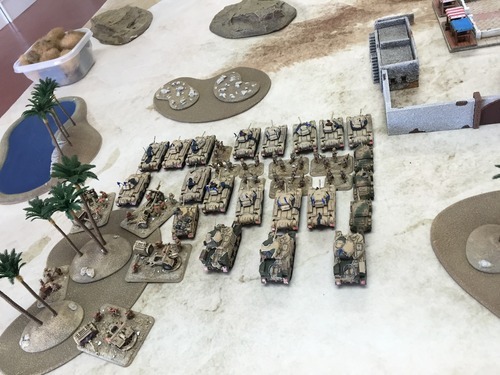
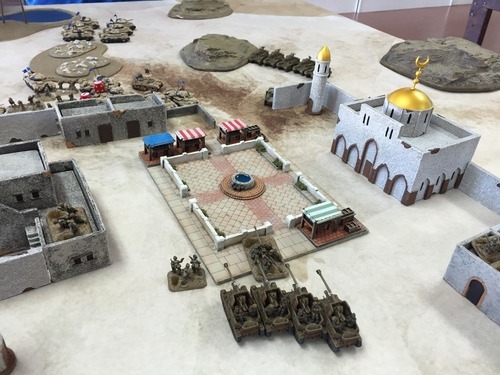
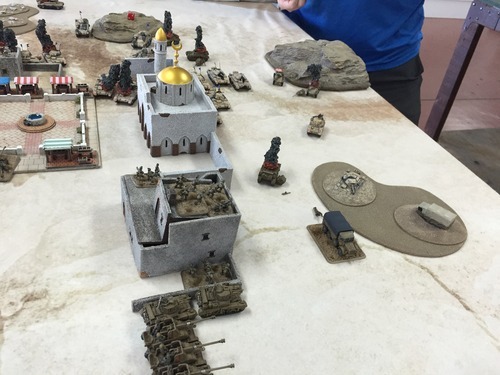
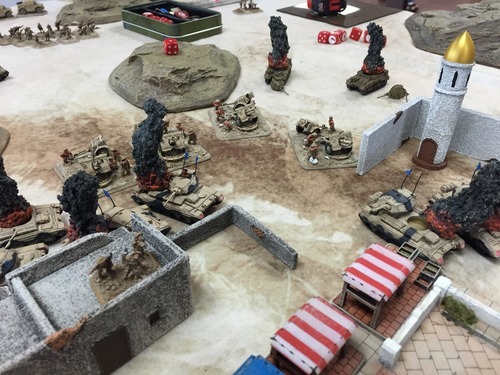
Mark’s deployment. Quite a tank park! I don’t remember exactly what he had. But it was composed of crusaders, grants, numbers, and some artillery. I really do like his paint job.
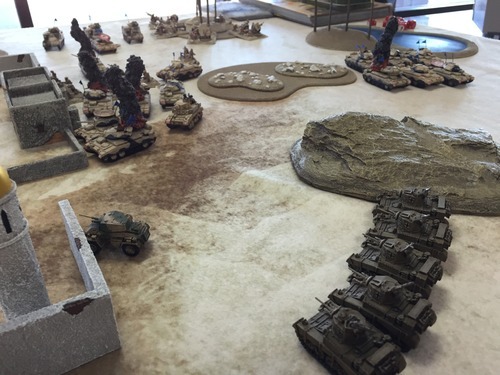
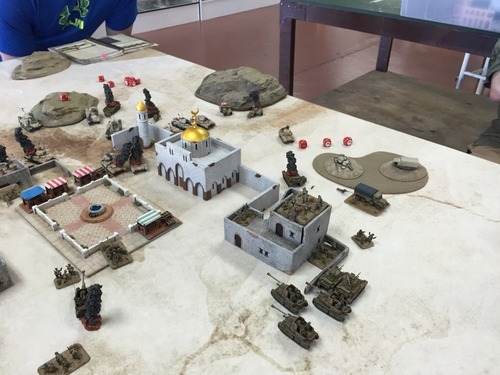
Mark has the first turn and begins his very circuitous rout to the objective. He could try and go through the village, but it was simply bristling with AT guns. He does try and double move one squadron the long way. Unfortunately the crusaders must check to see if they bog whenever they move at the double. Knowing Mark’s luck against me his platoon leader bogs down. So he attached his 2iC to lead on, but he bogs too! So now we have one strung out platoons with their butts in the wind! He tries to see if the village can be broken, but after some ineffective shots at the AT guns it looks like he will still have to go the long way.
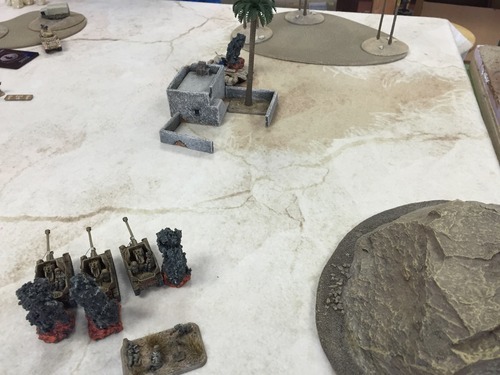
Now my DAK have a reputation for being extremely lucky as well as a beast of a force. Naturally, I got my stuarts in reserve on turn one, and the trap is sprung with my marders ambushing!
The first sets of shots go off! One platoon of crusaders is out of action. But those other 6 in the right hand corner of the photo end up wrecking some shop on the stuarts.
In Mark’s turn he continues to test the village, but to little effect. However, he has reduced the now backpedaling stuarts to 2.
I move the stuarts back to join up with the marders. I also move the larger infantry platoon into the building next to the objective, with the hopes of just feeding stands to contest while I grind Mark down.
Mark continues to advance! The grants are now bringing up the rear and trading shots with the marders at the entrance to the village.
We square off right at the objective. But the marders meet their demise as well as the remaining stuarts.
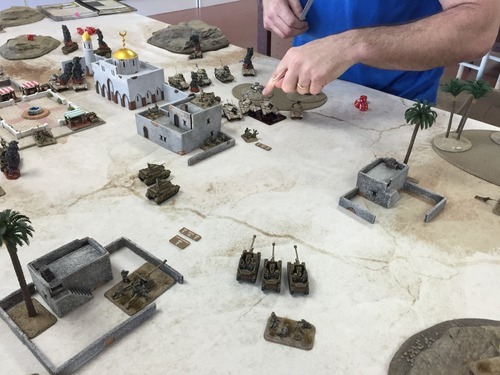
By this point I have no more mobile assets to toss around the board. However, Mark can’t throw units onto the objective with the one stand dug in on top of it (with more to be fed in if he dies!) So all he can do is try and try and gun down all of the infantry in the house. The astute observer will notice that Mark is getting close to losing more than half of his company, forcing a company morale check (Hard to take if your CO is dead!).
So Mark mounts up his guns to try and finish off the platoon in his way.
And they set up shop at the entrance to the village.
Meanwhile, I have my DAK push one of their pak38’s into range of the remaining tank from a badly wounded crusader platoon. Their platoon leader had died to stuart fire a few turns back, so they were simply stranded hiding behind a small building.
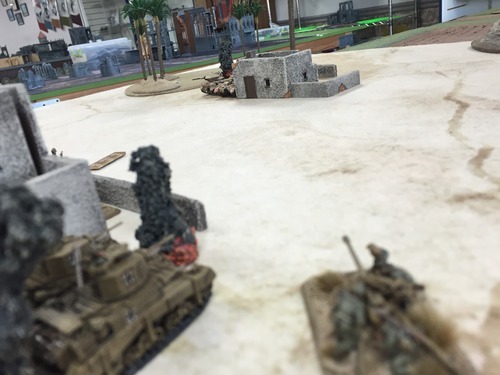
With a few shots at the tank, I finally penetrated and the platoon was lost. This brought Mark to below half and he automatically failed his company morale without a CO or 2iC present.
A very back and forth game. He is always a very tough opponent that fights to the last. I always enjoy playing my DAK too! I will have to spruce of the terrain to get it somewhat uniform. But I am excited to get some future desert games in.
No comments:
Post a Comment